

Keep in the loop
Beeswax Wraps
18-07-2019
I'd heard about beeswax wraps as an alternative to using cling film - a single-use plastic - some time ago and in fact had bought some as a present for a friend, but they were expensive. I decided to see if I could make them myself. I mean, how difficult could it be? I headed for Google and Youtube to find some tutorials on how to do it. I found plenty of videos and lots of different ways of doing it AND different 'recipes' for the beeswax. There was some that were simply using plain beeswax, then others recommended using pine resin in the mix - to make them sticky - or adding jojoba oil (which I always want to pronounce as 'joe-joe-ba' not as it is said, 'hohoba'!), using coconut oil as well as various other ingredients. Then came all the methods: grating, melting in a pot, ironing it on between greaseproof paper, melt in the oven...which to do?! Finally came the decision about which fabric to use? Some tutorials suggested you can use fabric from clothing that you are throwing away, others suggested that the thinner the fabric the better the wraps, but they all agreed it needed to be 100% cotton. Can you imagine putting a polyester / cotton mix in the oven! Lots of decisions to make!
< back to listings
I will be testing out the various methods and recipes and keep you updated in my blogs as to how I get on.
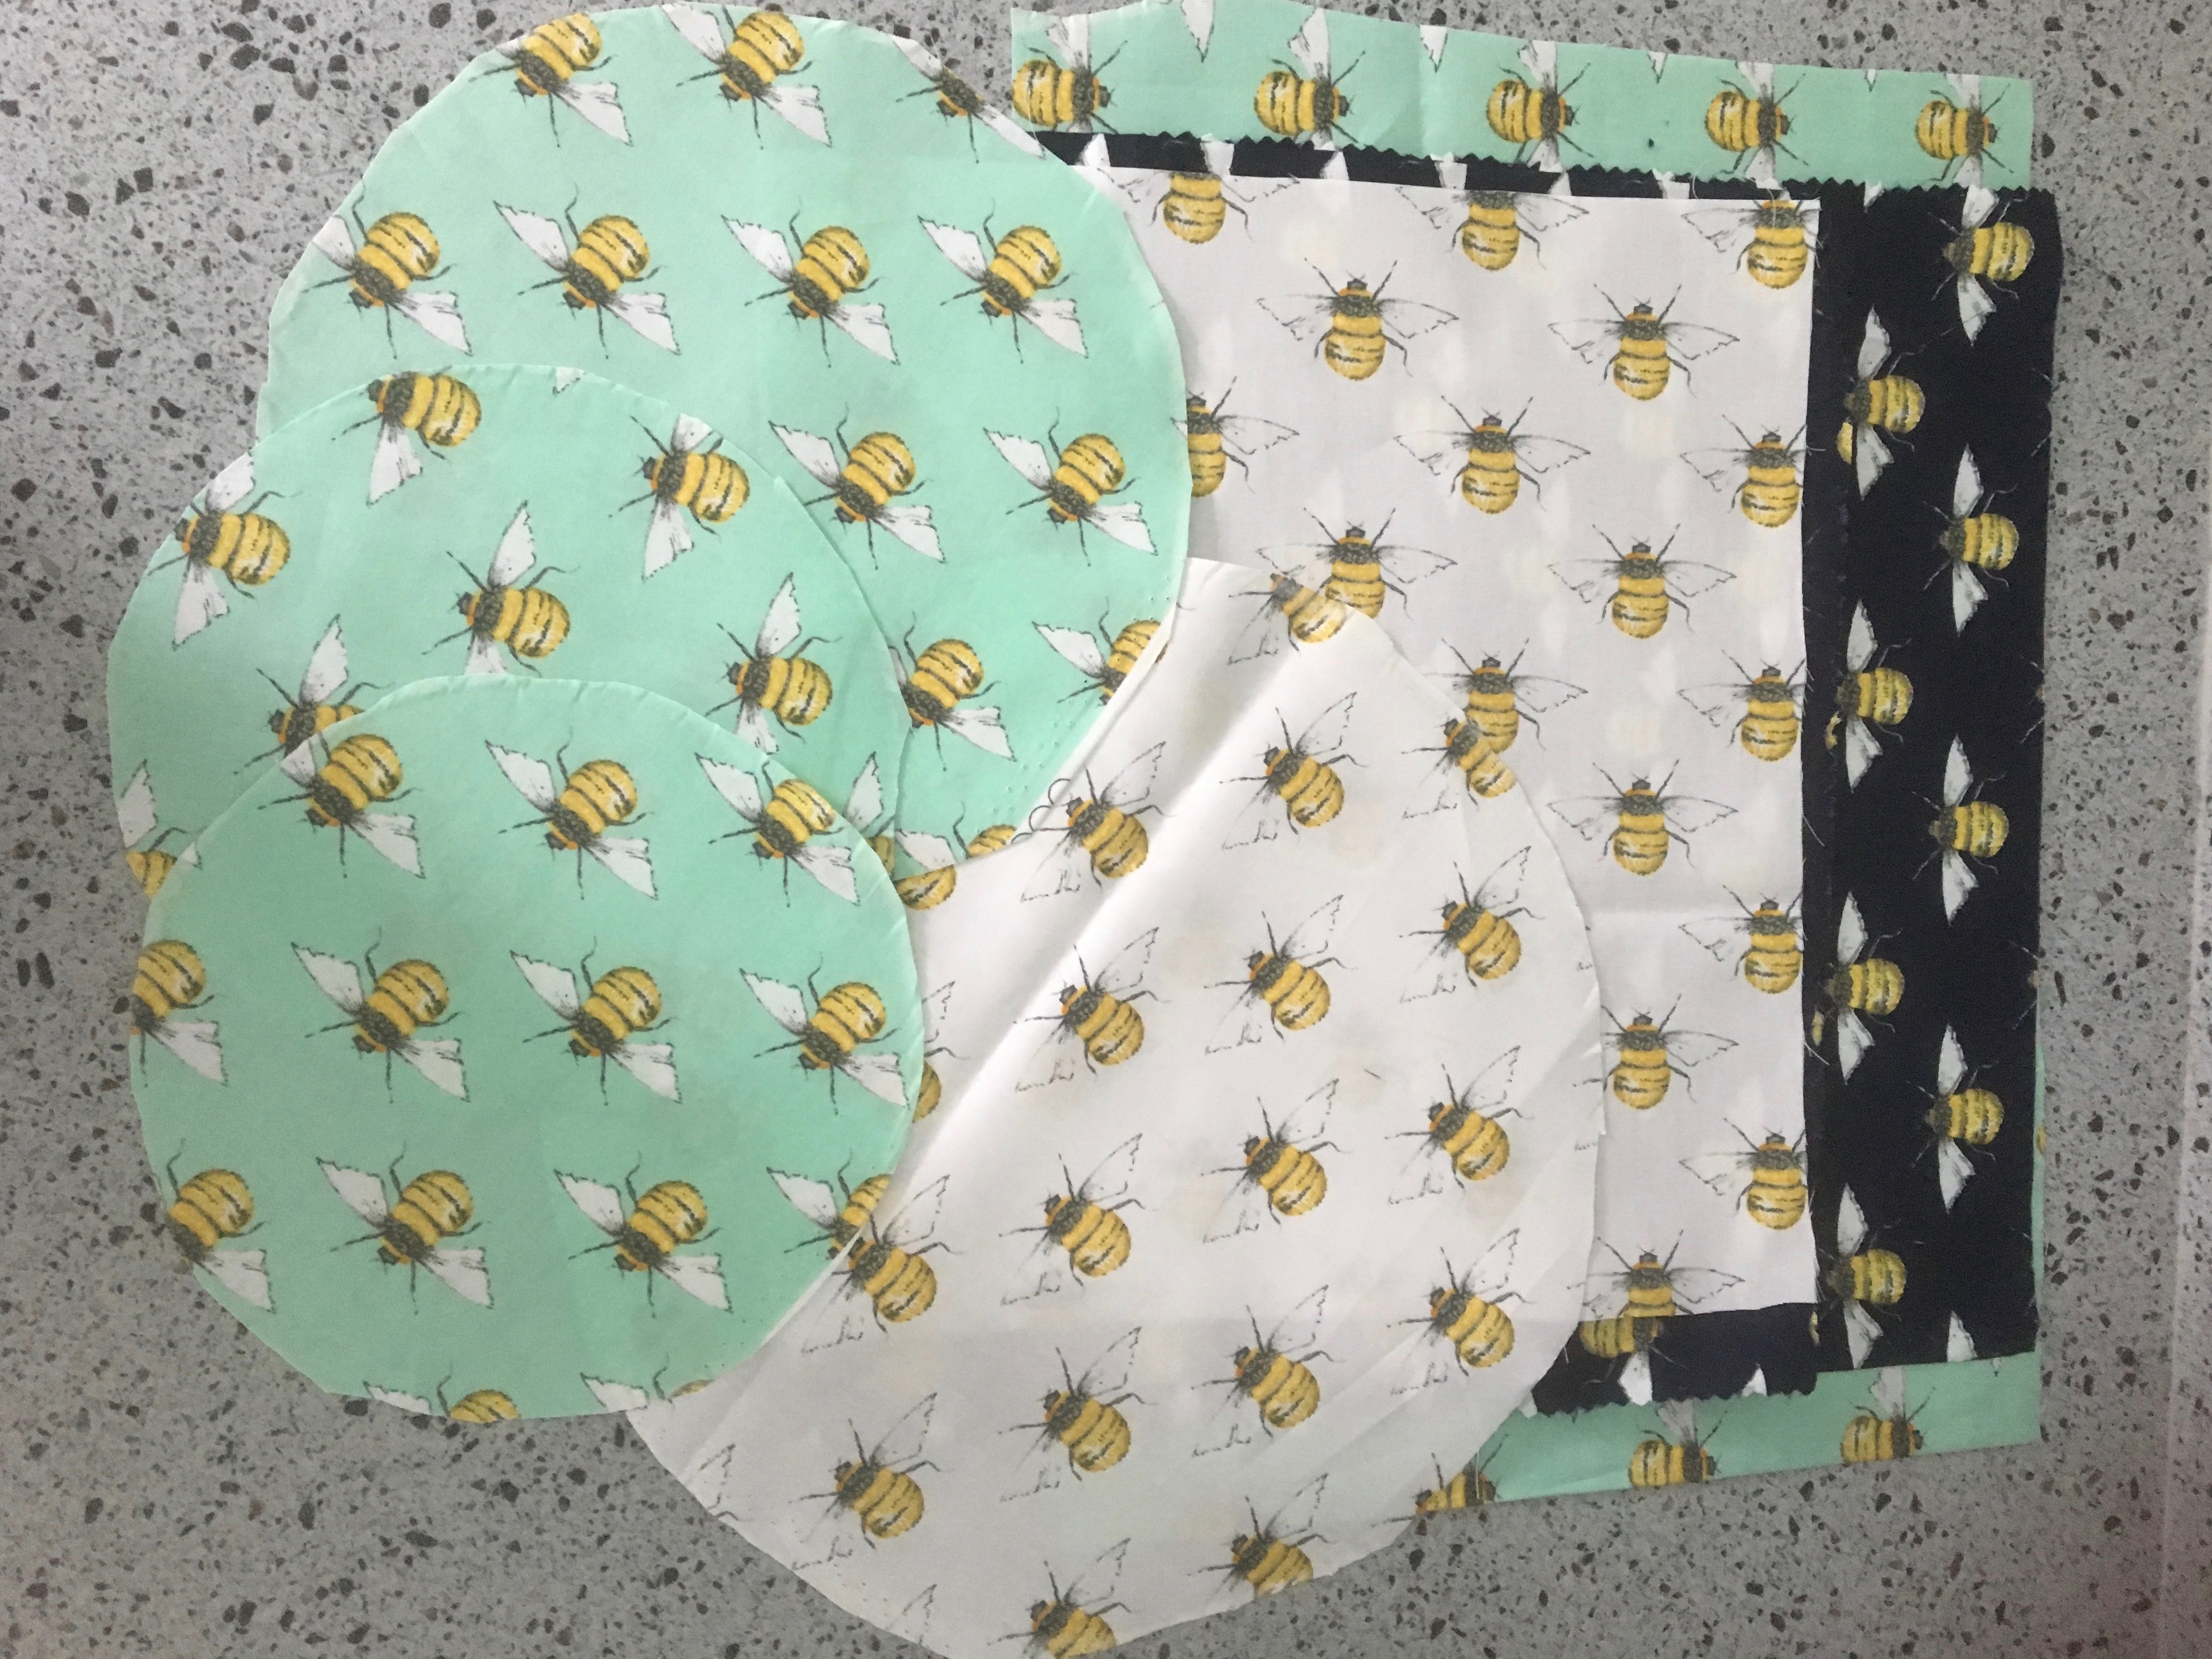
As I currently didn't have any items of clothing we were throwing out, or in our case taking to the charity shop, that I could use I went to investigate a local interior fabric shop to save having to drive to Kingston or Guildford (our closest large shopping centres). The fabric was all very thick so I abandoned that idea and as I didn't want to drive anywhere just to get a small amount of fabric I returned to the internet. I prefer to support local shops when I can but unfortunately dress fabric shops are few and far between nowadays, largely due to the really cheap clothes now available in the shops and on line. All part of the problem we have with climate change! I returned, reluctantly, to the internet and found some thin, 100% cotton 'Rose and Hubble' fabric with a bee pattern on it (as in the photo at the top of this blog) so I ordered half a metre each of 3 different colours. Many years ago my Saturday job was working in a dress fabric department and the name 'Rose and Hubble' brought back some lovely memories of that time and I was pleased to see the company was still going.
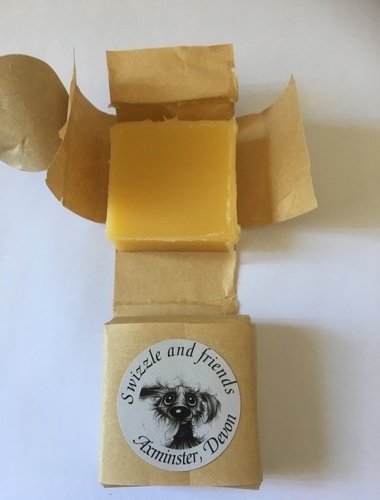
After much deliberation, and as this is my first attempt, I decided to buy a block of beeswax/pine resin/jojoba already mixed from https://swizzleandfriends.com/ at £3.75 per block before attempting to make my own (that will be another blog altogether!). Pine resin is an antibacterial ointment and the jojoba oil adds pliability to the wraps and helps prevent cracking when they are used, but coconut oil apparently does the same job and is easier to buy. When I come to make my own (she says confidently) I'll use coconut oil as we already have it in the cupboard at home.
The packet arrived within a couple of days and although the website clearly states the weight I must admit the block was actually smaller in size than I had imagined from the photo. I can confirm, purely from unwrapping it, that it is very sticky! Next to arrive was the fabric which I loved and as I expected it to be. There are instructions included with the beeswax as to how to make the wraps. In the end I combined what I had read online with these instructions.
I found: an old pastry brush, a small pudding bowl (one that a shop bought Christmas pudding had been in), my little saucepan, some greaseproof paper, my sewing scissors and tailor's chalk to draw around my bowls as a circle pattern (a pencil would would be fine). I marked and cut out various sizes of circles and squares. Meanwhile I had put some water onto boil, placed one block of beeswax into the pudding bowl and put that into the saucepan of boiling water to melt, stirring occasionally to break up the block. I laid out some greaseproof paper on a baking tray, slightly larger than the fabric and put the oven on 100c. When the block had melted I removed the bowl from the saucepan and started pasting/spreading the liquid over the fabric. It solidified quicker than I was expecting, in fact quicker than I seemed to be able to spread it evenly and soon it had solidified on the brush as well! I placed the brush into the bowl and the bowl back into the hot water (be careful to keep water out of the beeswax) until it had melted and off I went again. When the first sheet of fabric was covered I placed the tray into the oven for 10 minutes and started the next one.
It was obvious then they came out of the oven that there was more wax in some areas on the fabric than others so I attempted to spread it out with the brush. Then onto the line to dry. They were definitely sticky, as was I at this point in the process as well as bits of my worktop and, as I discovered later, my kitchen floor! How the wax had got there I had no idea as I had held the bowl over the fabric as I filled my brush. Once dry some of the wraps were OK, others a bit patchy with no wax in some places and a thick chunk in others. They did work but were not quite right. Out with the iron and ironing board so I could melt the wax from one area and spread with the iron to another by putting the fabric between 2 sheets of greaseproof paper and ironing on top. In fact there was far too much wax and I soon realised that if I cut up some more fabric I could lay the fresh piece over the already waxed one between the greaseproof paper and the heat of the iron meant the wax soaked into the fresh piece. However, point to note, I was so busy looking at the fabric that I forgot to watch the edge of the greaseproof paper and soon discovered that the iron had pushed some of the wax off the edge onto the ironing board cover. As a result I now possess a slightly sticky cover purely for ironing my beeswax wraps on! As for the iron? After it had smoked for a while and evaporated the wax it was fine to use.
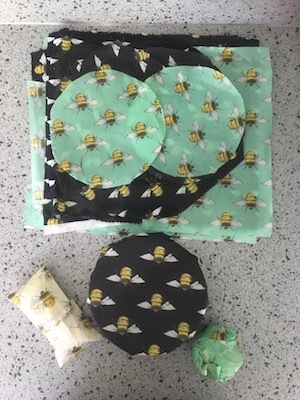
The end result is that I now have 3 times the amount of wraps I started with but they are much more evenly waxed and ready for use. Admittedly some work perfectly and others not so well. The beauty of these wraps is that I don't need to throw them away, in fact you never need to throw them away. They can be washed in lukewarm water and when the 'stickiness' goes you simply re-wax them. When I get more wax I'll simply iron it on the ones that now need a bit more and with each batch I will learn the perfect amount to put on. On my next attempt I'll buy just beeswax, add some coconut oil to the fabric, and depending on whether I buy the already grated wax or a block that needs grating, I'll give the grating, ironing and then in the oven method a go. Guess what everyone will be getting for Christmas!
NOTE: do not wrap raw meat or fish in them.


